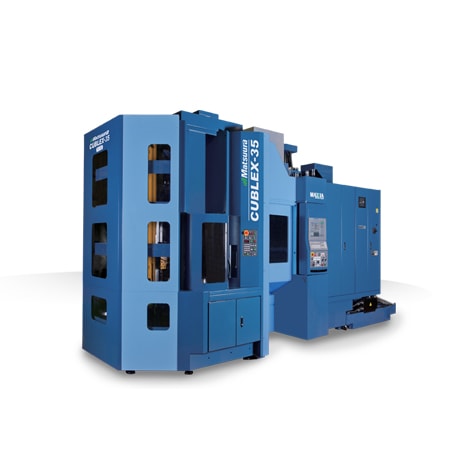
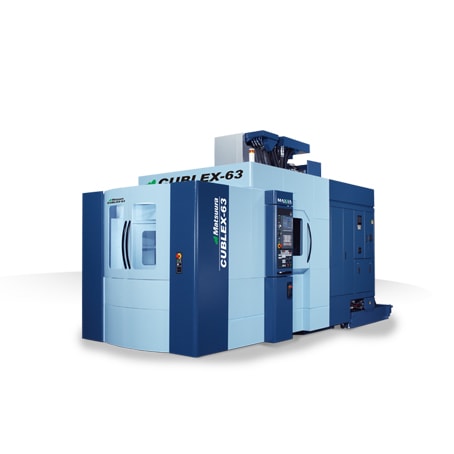
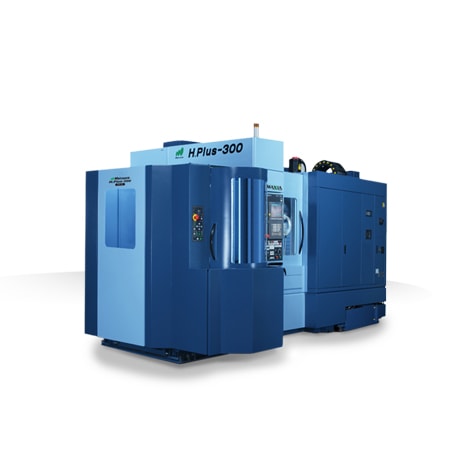
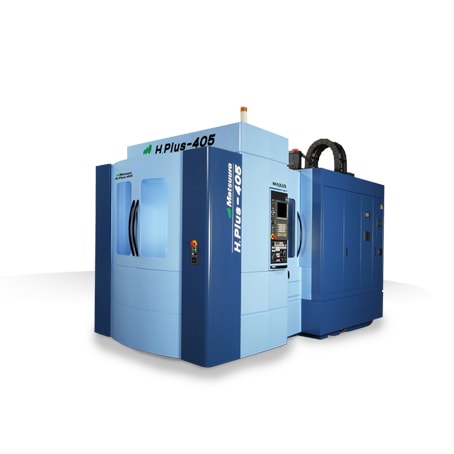
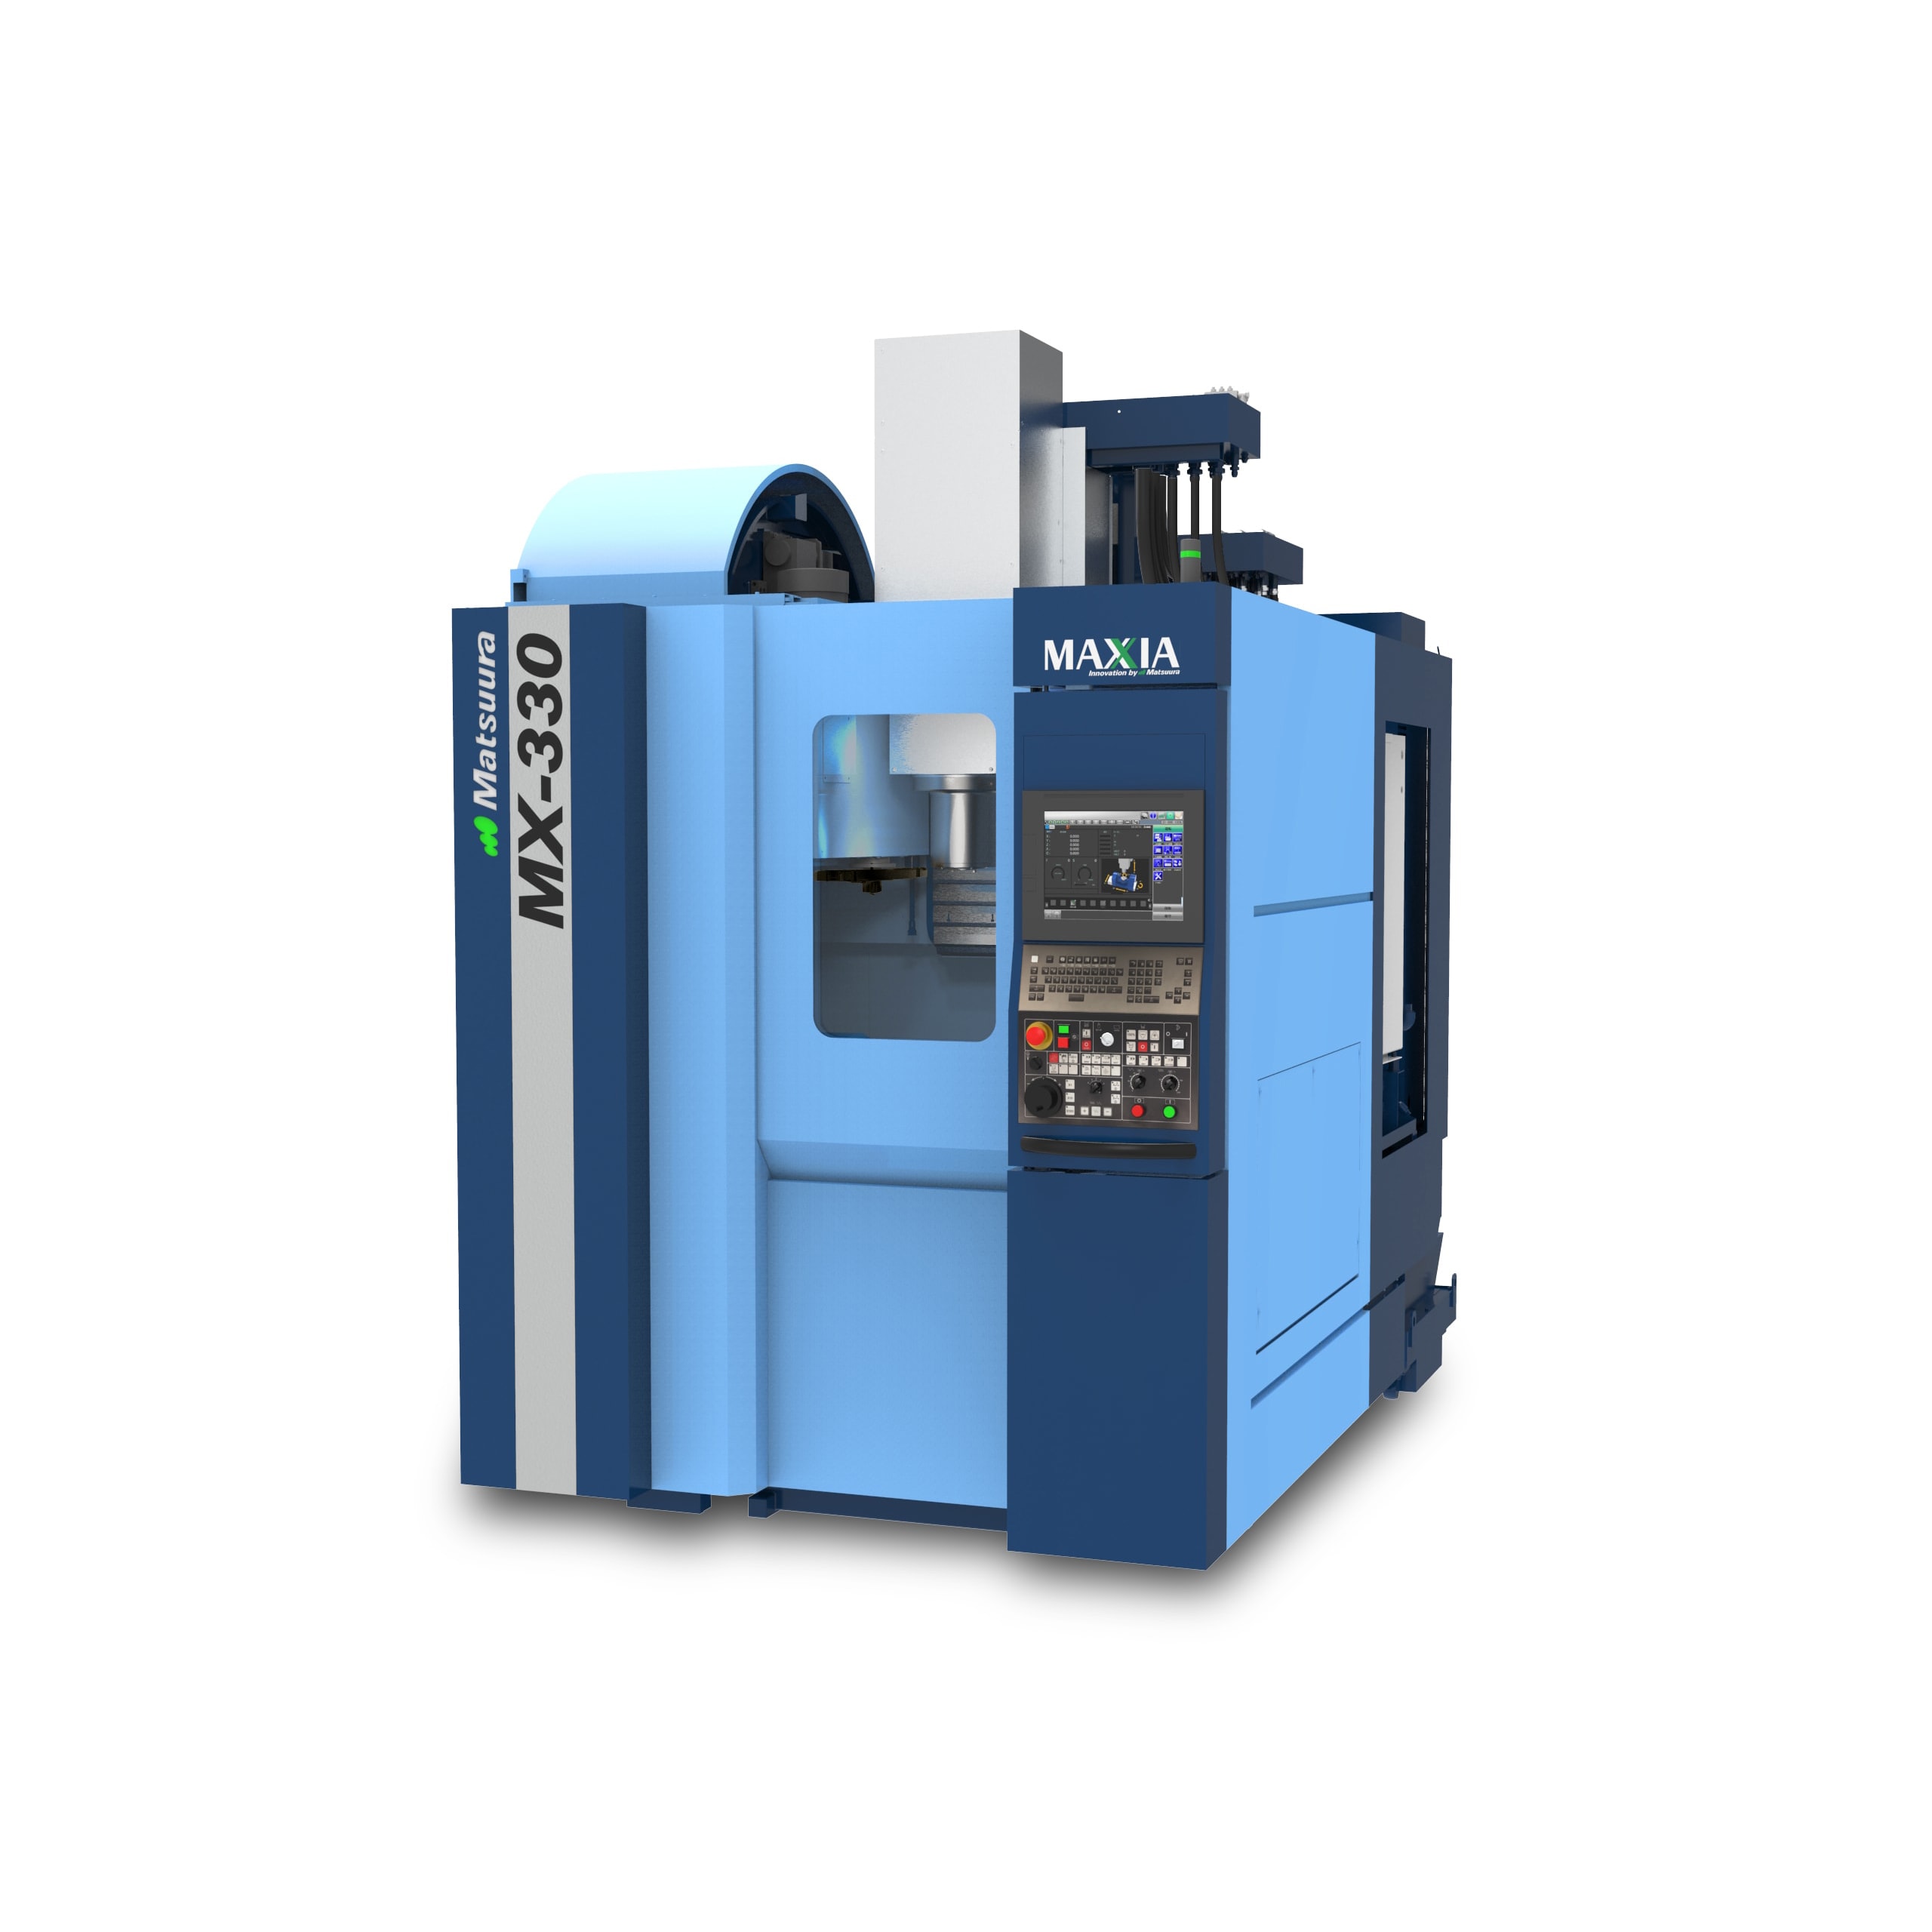
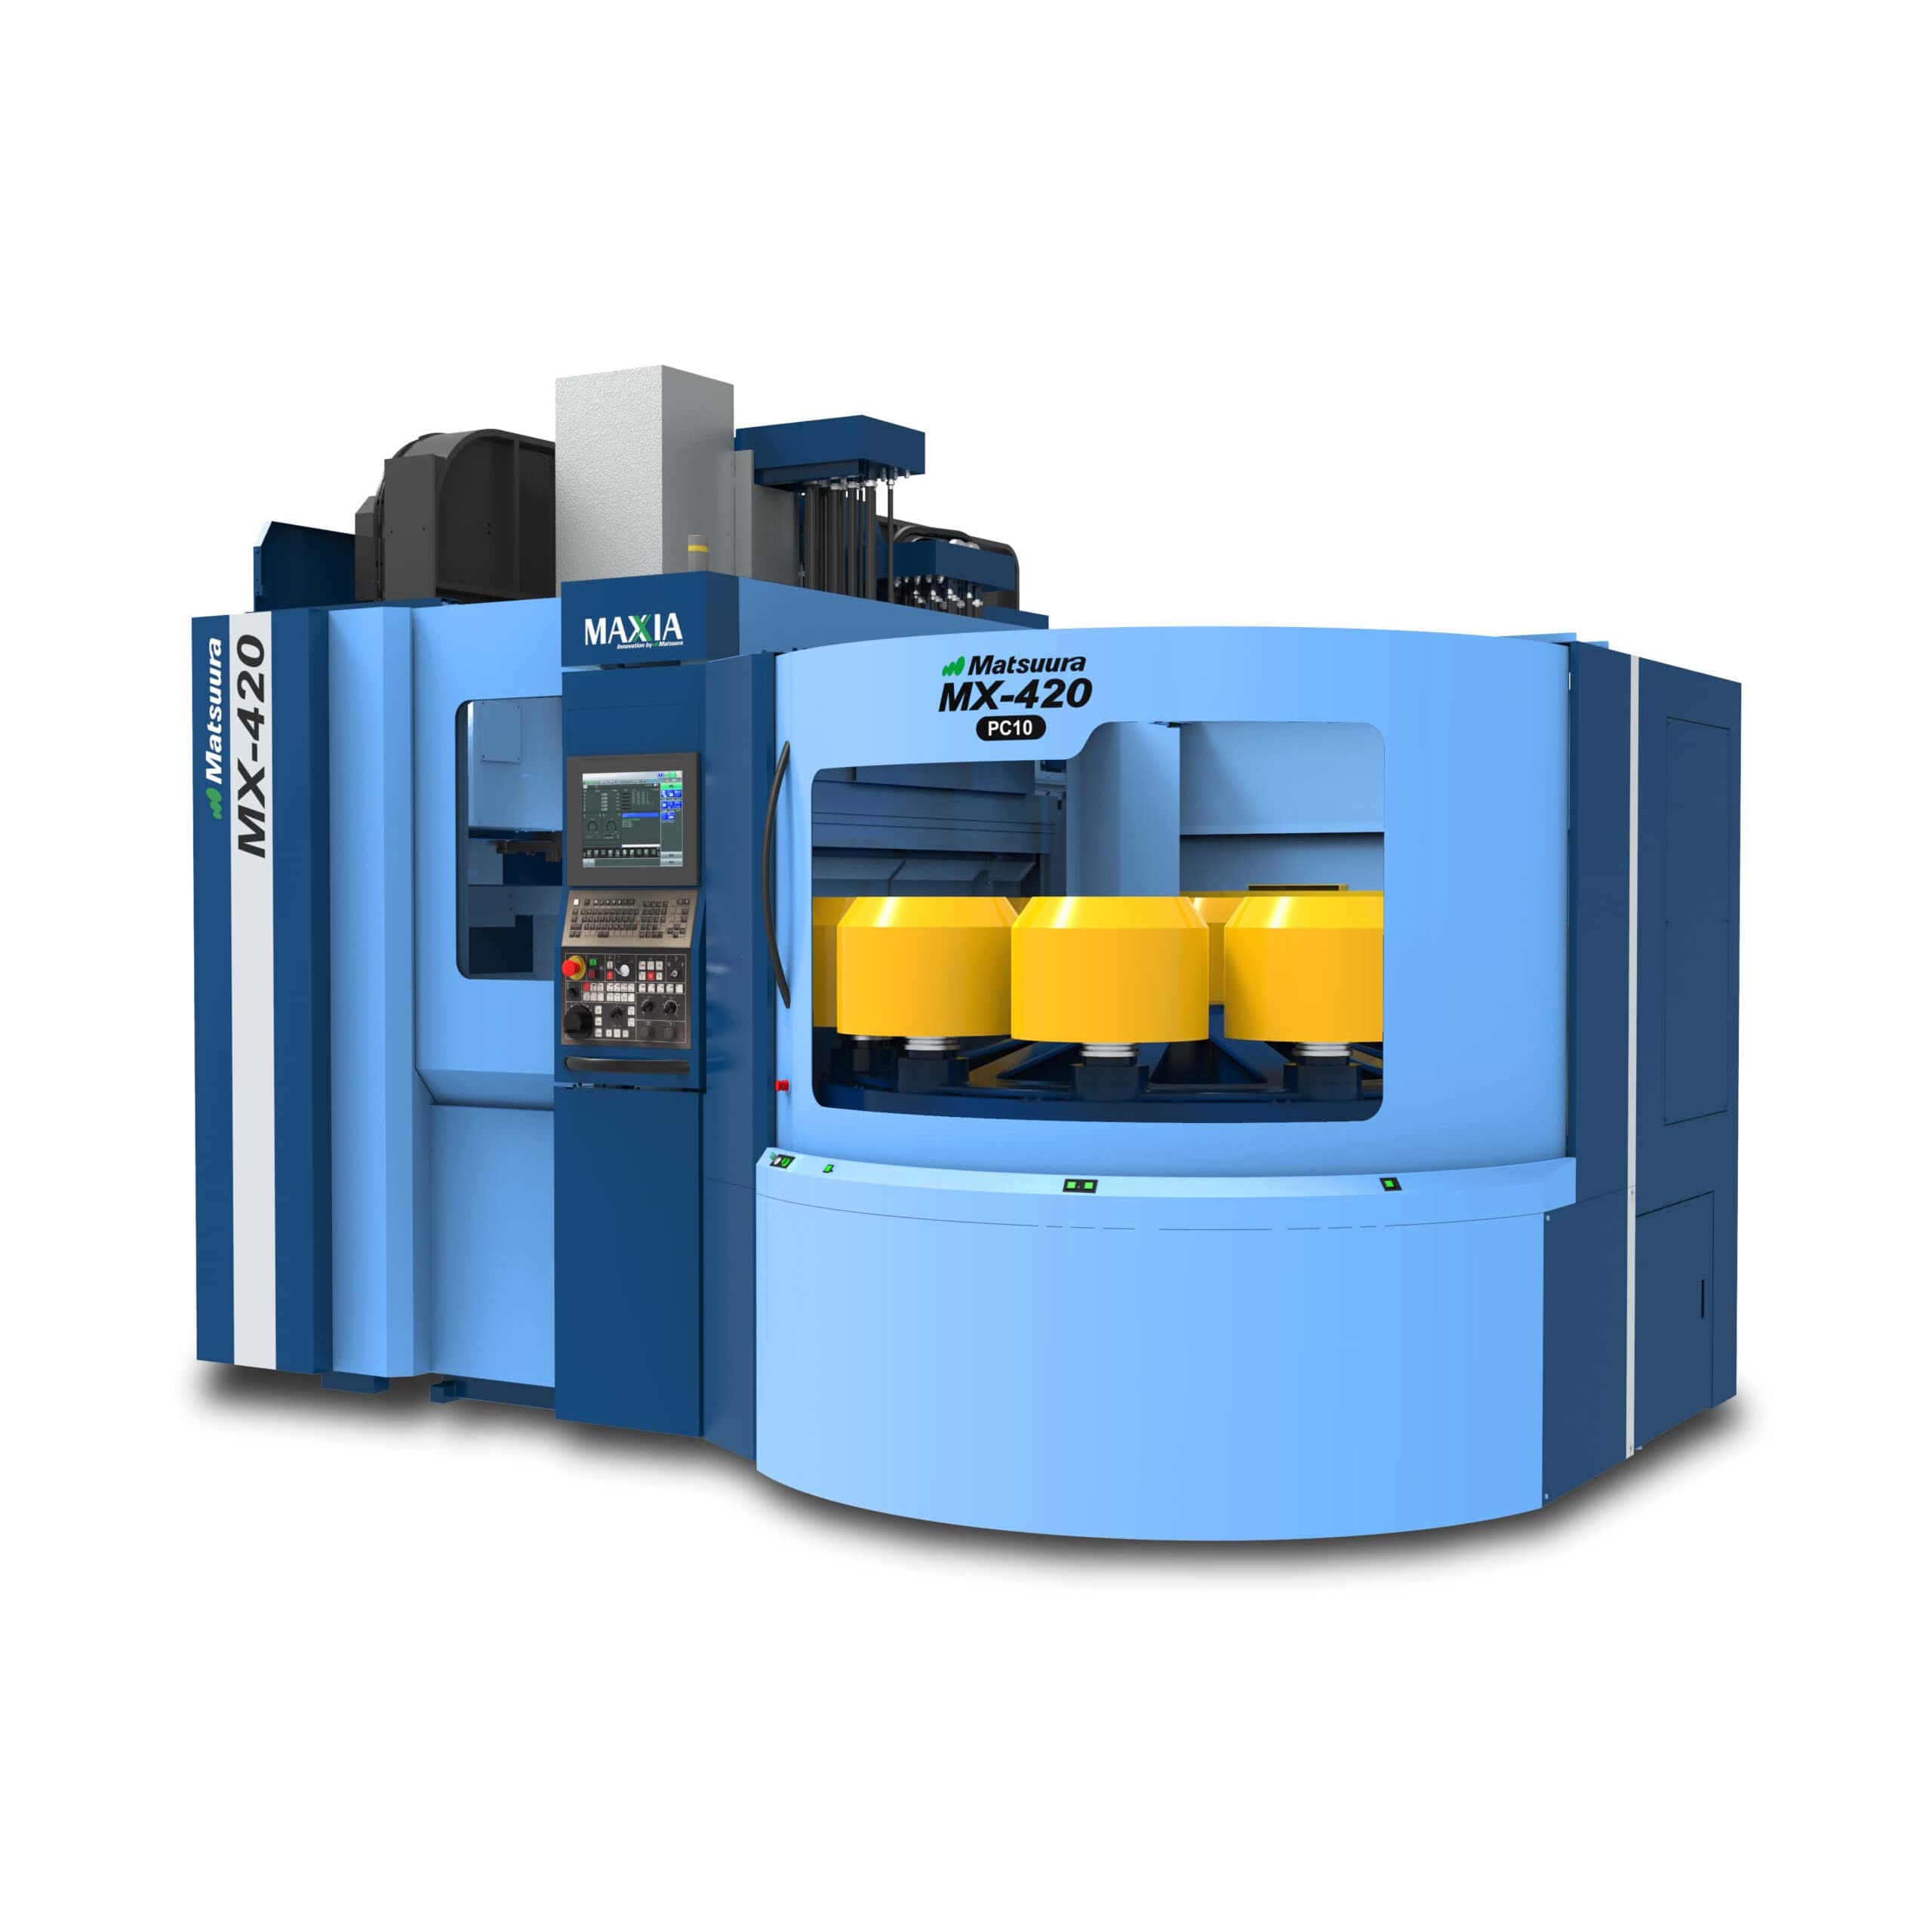
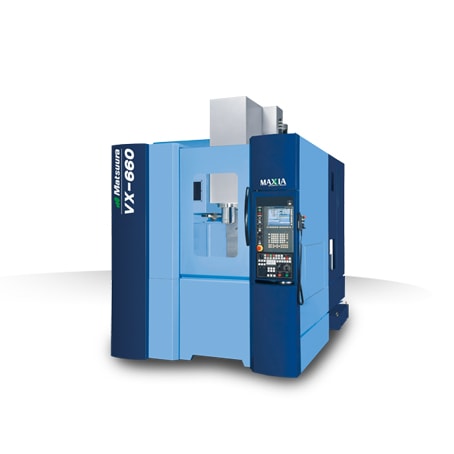
Matsuura five-axis machines drastically increased Flying S’ process reliability in making complex aerospace parts, in one example leading to over 90% first part integrity on first machining attempts.
Modern Machine Shop Case Study
3.10.21
Edited by Evan Doran, Assistant Editor
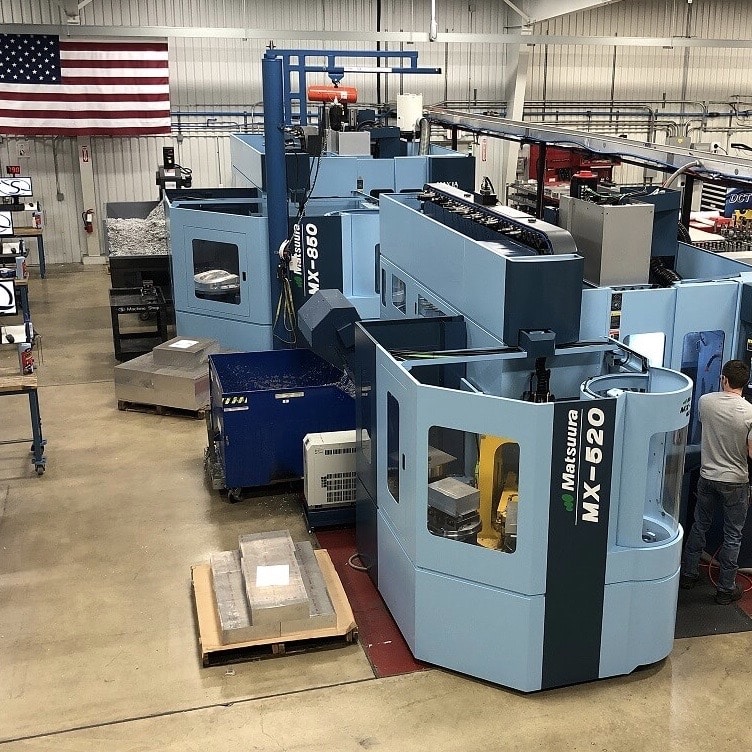
From its 2001 founding in Palestine, Illinois, aviation and aerospace engineering company Flying S was established with the intention of building high-quality parts. As the five-axis parts they made became more complicated, it became clear that greater machine capability was needed to achieve reliable unattended operation.
“Many of our space fittings require tight-tolerance features,” says manufacturing engineer Peter Bowman. “Our lack of reliable positional accuracy and repeatability due to thermal growth or other variables really took a toll on our efforts to consistently make a good first part, and subsequent parts after that.”
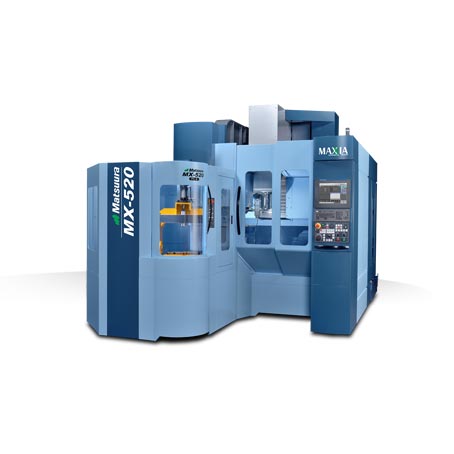
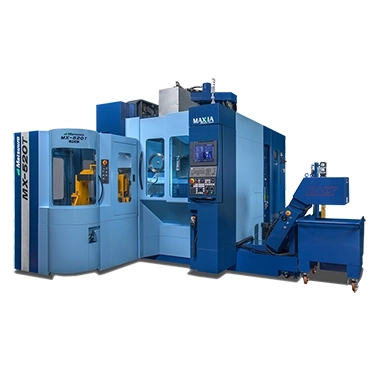
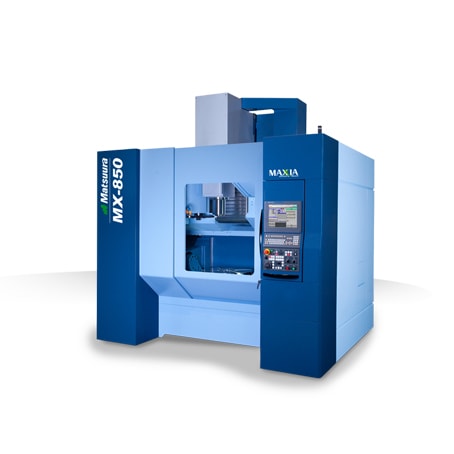
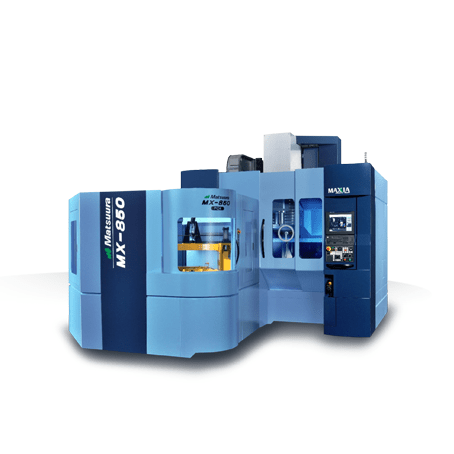
But as demands on the shop grew and expectations of its long-held single-shift schedule remained, Flying S began looking into new, multi-axis technology. Matsuura caught the shop’s eye, and past positive experiences with its local distributor, Yamazen, gave the shop confidence to purchase the Matsuura five-axis MX-520 PC4 and MX-850 PC4.
Better Parts, Less Effort
These machines quickly proved to be a good fit for Flying S’ needs. Multiple pallets enabled the shop to run unattended with great process reliability, shopfloor personnel were already familiar with the FANUC control, the machines provided 0.000039-inch repeatability, and repeatability of each rotating axis A/C is ±2 arcseconds, which is important for large workpiece manufacturing.
Yamazen trained the shop engineers in CAMplete and machine functionality, and continues to support Flying S’ new Matsuura machines through phone and email support as needed.
Flying S ran its standard accuracy test block, which includes multiple intersecting five-axis bores, on the MX-520 and came away impressed by the near-perfect accuracy of the part. “We were also impressed with the spindle uptime we were able to achieve, and we began running 24-hour shifts within the first week of install,” Bowman says.
With the Matsuura machines achieving first part much faster and with much less effort than in the past, the shop’s next challenge became addressing a newly created bottleneck in the inspection department. Flying S had to physically expand the size of this department to accommodate final part inspection as a result of the volume of parts being produced by the Matsuura machines.
Part Productivity and Quality
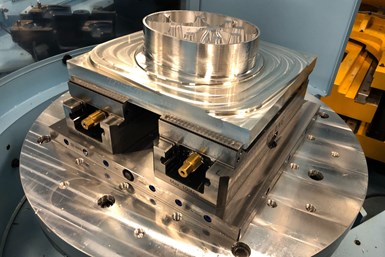
An aluminum flight component in the MX-850 PC4 is ready for the final operation.
Over the first six months of operation, Flying S made 533 parts on the MX-520 and 144 on the MX-850, running a total of 5,187 hours with just two machinists. This is roughly the same output as four of their other five-axis machining centers attended by three to four machinists within the same timeframe. To illustrate the Matsuuras’ ability to handle high-mix, low-volume production with the right planning and execution, Flying S highlights the accomplishments of the MX-520. Factoring in 533 parts with an average batch size of seven means that 75 setups went to first part while maintaining 75% spindle uptime.
Flying S also reported that, in a seven-month period, one Matsuura machine produced more spindle hours than the other five-axis machines they’ve owned for five years.
On more difficult parts, a typical five-axis setup to first part would require one initial part to check for offsets, and then a second part would have a 50% chance of being correct. Subsequent parts would have an 80-90% chance of remaining error-free throughout the process. This lengthy process burned through a great deal of man-hours and bottlenecked inspection resources. Between the Matsuura machines, Flying S made 677 parts with an average batch size of seven, roughly entailing 100 setups to first part. In short, the shop has been achieving first part integrity over 90% of the time on the first attempt when machining with the Matsuuras. Since install, not a single part on either Matsuura has been scrapped due to any machine-related error.
Impact
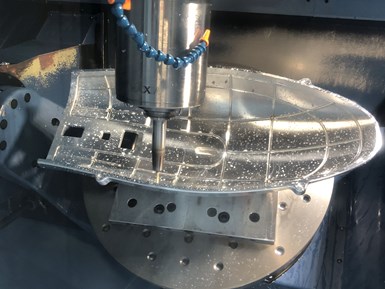
Much of what Flying S produces can’t be shown for ITAR compliance, however, molds and fixtures for composite work are also often made on their Matsuuras.
Due to lack of palletization, Flying S could not use the five-axis competitor machines it owned for additional setups of other parts during inspection of the first part. Also, all tooling had to be built and loaded into those machines fresh every time.
The Matsuura machines commonly have two or three different first parts inspected at the same time from the same machine. The machines have additional tool changer capacity, which worked well with Flying S’ tool libraries. Flying S also made use of Lang zero-point workholding, combining it with the accuracy of the pallet locating feature to make part probing unnecessary.
Machine shop supervisor Ben Parish has particularly positive remarks about the Matsuura MX-520 PC4 and MX-850 PC4. He is pleased at “essentially not having to worry about machine positional accuracy, repeatability or consistency, eliminating several of the most concerning risks of creating non-conforming products.” He also compliments Matsuura’s control interface, while noting that it provides the option for a traditional FANUC interface for operators who have experience in that interface and prefer it.
“CAMplete is a true comfort,” Parish adds. “The combination machine definition/postprocessor/NC code verification software helps to further eliminate potential issues and collisions. It also provides the ability to customize the post and include toolpath refinement to improve cut quality while really tightening down on feature accuracy and surface quality.”
Contact Matsuura HERE to learn how to drastically increase your productivity, even with difficult-to-machine parts that require multiple operations.
